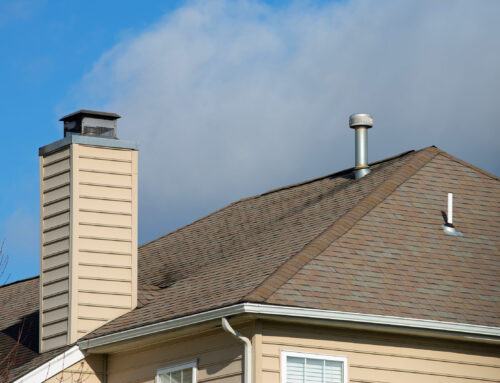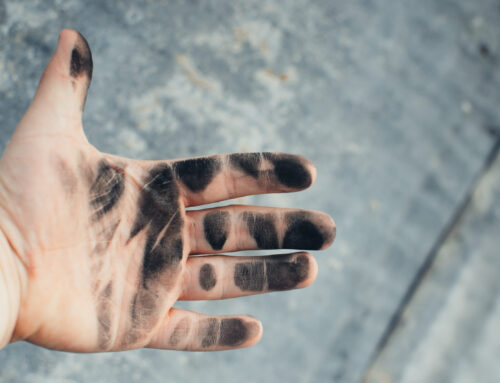
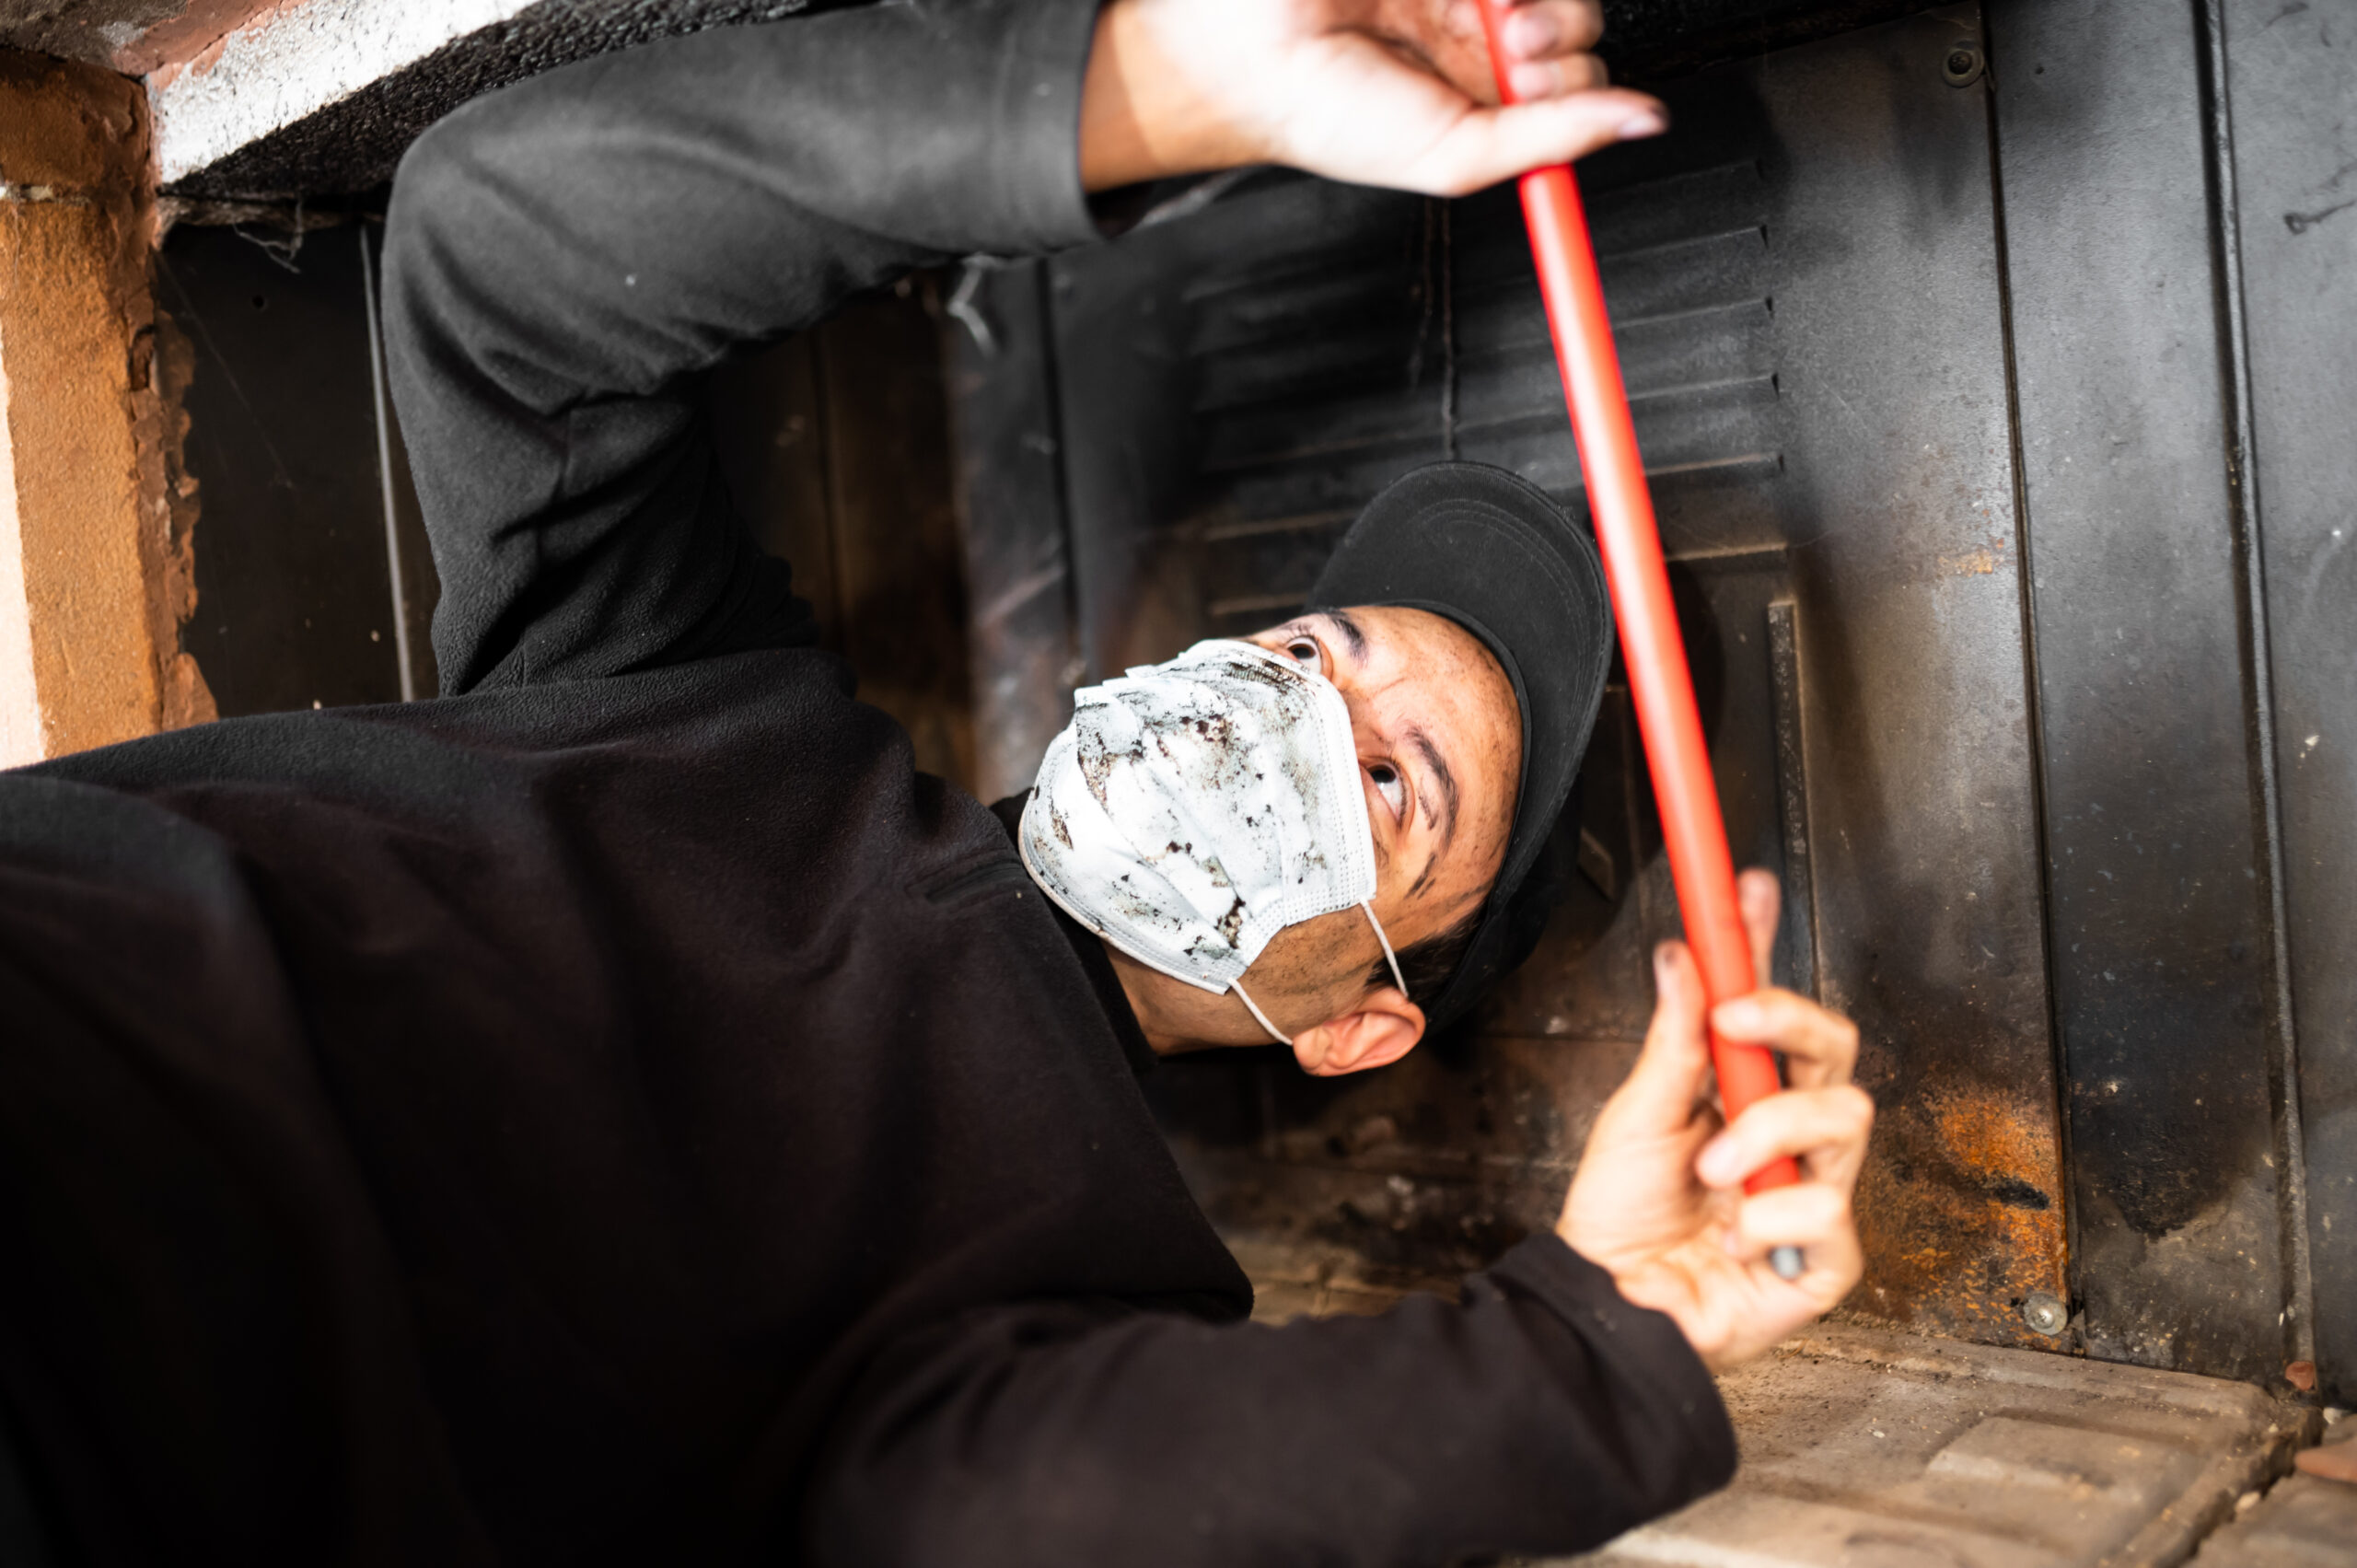
Tuckpointing chimney brick starts with the screwdriver test. Learn how to spot soft mortar before winter damage hits and decide if repairs are due. This simple check can save you from leaks, crumbling bricks, and costly rebuilding in spring. If you live in Southeastern Wisconsin or Northeastern Illinois, Elite Chimney can help you inspect, repair, and prepare your chimney for cold weather.
Why Soft Mortar Is a Winter Problem
Chimneys take a beating from weather. In our region, long freezes and frequent thaw cycles push water into tiny gaps. When that water freezes, it expands and breaks apart the mortar between your bricks. Over time, that leads to loose joints, spalling brick faces, and leaks that show up as stained ceilings or damp walls near the fireplace.
Mortar is the first line of defense. When it becomes soft or sandy, it no longer seals out water or supports the brickwork. A solid chimney can start to fail during just one harsh winter. That is why homeowners in Kenosha, Racine, and Lake County should test their mortar early in the fall and plan for repairs before deep cold arrives.
What Is the Screwdriver Test?
The screwdriver test is a quick, at-home check to see if your chimney mortar has enough strength to face winter. You do not need special gear, and it takes only a few minutes. You use a flat-head screwdriver as a probe and gently try to scratch the mortar joints. The amount of resistance you feel tells you a lot about the mortar’s condition.
Tools and Safety Prep
Safety comes first. Many chimney injuries happen during casual checks. If your chimney is not safely reachable from the ground or a stable platform, skip the test and call a professional. Elite Chimney performs full inspections and uses proper fall protection.
- Flat-head screwdriver or a sturdy pick
- Work gloves and safety glasses
- Stable ladder or binoculars if you cannot safely climb
- Camera or phone for photos
How to Do the Screwdriver Test
- Choose a dry day. Wet mortar can feel softer than it really is.
- Start low. Check accessible joints on the sides of the chimney or at the firebox exterior if your chimney is too tall. If you can reach higher safely, test mid-level and near the top for a full picture.
- Place the screwdriver tip on a horizontal mortar joint. Press with light to moderate force and try to scratch a shallow line.
- Watch for crumbling. If sand grains fall out or the tip digs in easily, the mortar is likely too soft.
- Repeat on a few different sides. Wind and sun exposure can age one face faster than another.
- Record what you see. Take photos of joints that flake, crack, or crumble.
How to Read the Results
Healthy mortar resists a light scratch. The screwdriver might leave a faint mark, but it should not sink in. You should not see loose sand or chunks. If the tip penetrates more than 1 or 2 millimeters with moderate hand pressure, or if the joint feels chalky, the mortar is weak. When multiple areas show crumbling, it is time to plan for tuckpointing chimney brick and possibly other repairs.
When Not to Test
Avoid testing if the chimney is wet, icy, or hard to access without secure footing. Skip the test if bricks show serious cracking, leaning, or missing sections. In those cases, call Elite Chimney for a professional inspection. We are certified chimney sweeps trained to spot hidden issues and keep you safe.
Signs Your Chimney Needs Tuckpointing Before Cold Weather
Your screwdriver test is one clue. Combine it with other signs to decide your next move. Here is what to look for before the first hard freeze.
- Mortar that powders when touched, or joints that look recessed between bricks
- Hairline cracks or step cracks near corners
- Loose or wobbly bricks, especially near the top and at the shoulders
- Brick faces popping or flaking, known as spalling
- Water stains on ceilings or walls near the fireplace
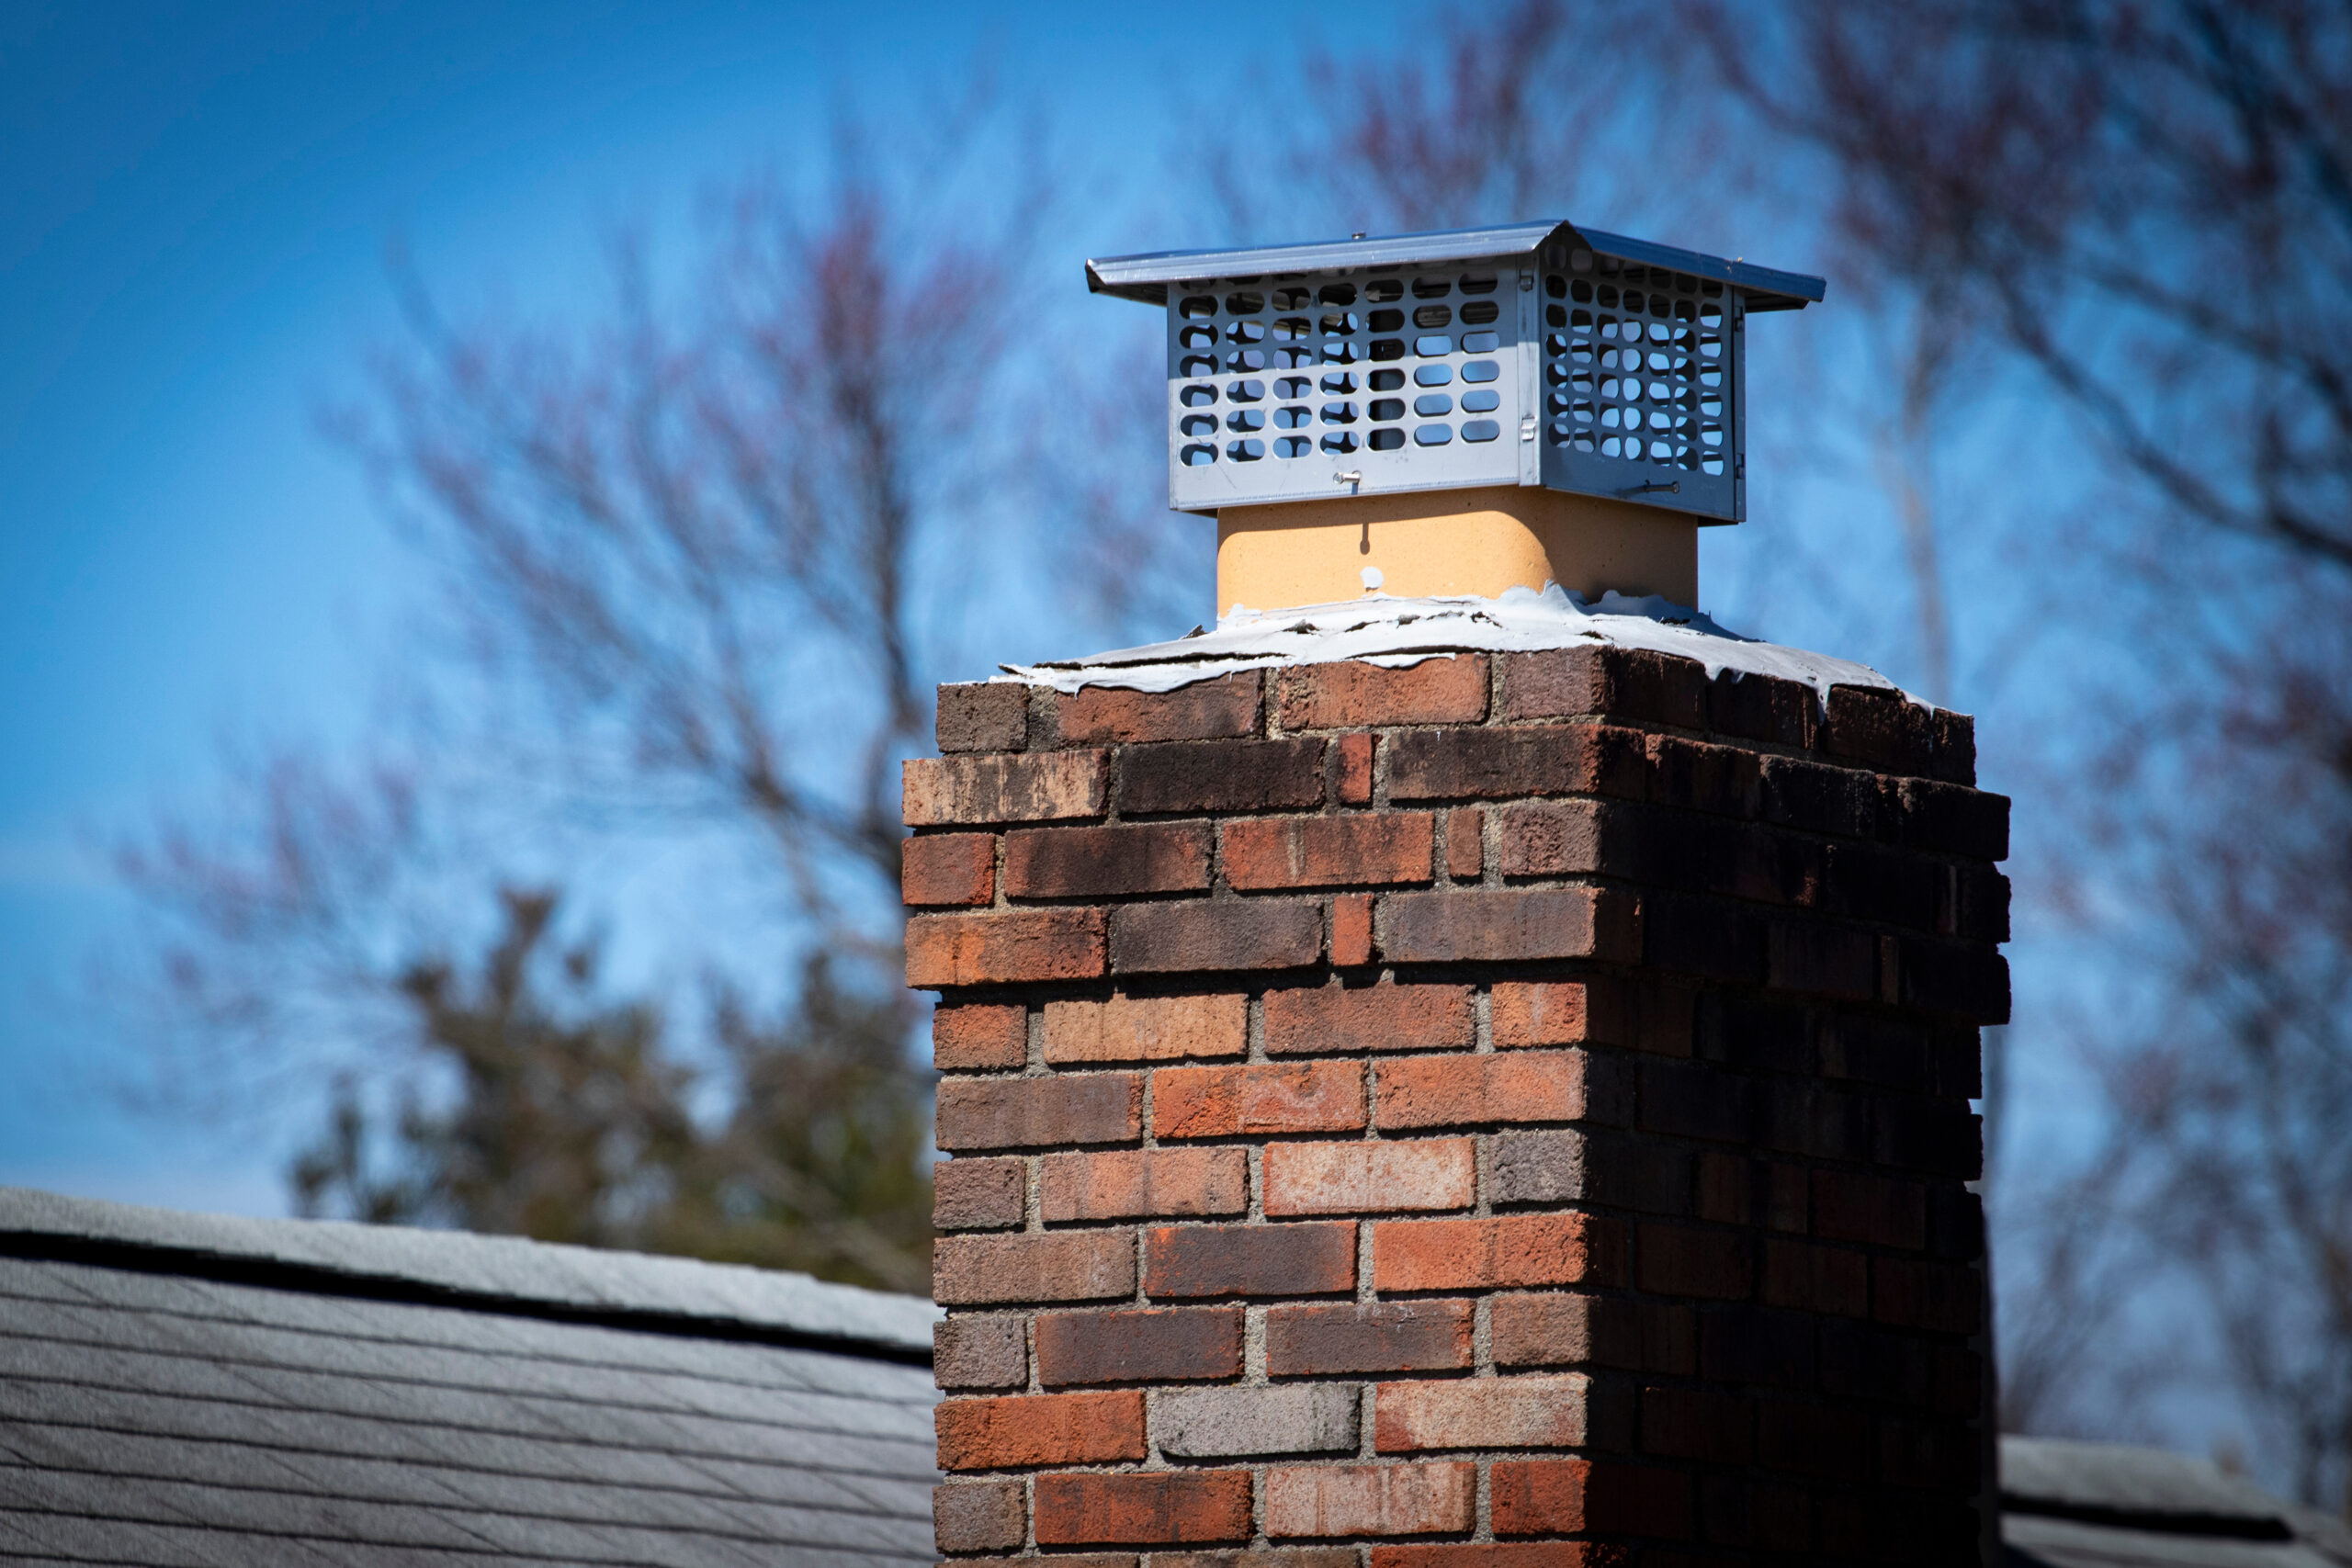
- A deteriorated crown or missing chimney cap
- Efflorescence, which is the white salt crust on brick faces that shows water movement
Any one of these signs can point to aging joints. Several together mean you should plan for tuckpointing chimney brick soon, ideally before snow and ice set in.
Tuckpointing Chimney Brick 101
What Tuckpointing Is
Tuckpointing is the process of removing deteriorated mortar and packing new mortar into the joints. Good tuckpointing restores the seal that keeps water out, supports the brickwork, and improves the look of your chimney. It is not the same as smearing surface mortar. The weak material must be cleared to the right depth so the new mix bonds well and lasts.
Choosing the Right Mortar for Our Climate
Mortar type matters. Chimneys in Wisconsin and Illinois often do best with Type N mortar because it balances strength with flexibility. Older, softer bricks may do better with a lime-rich mix or Type O that is gentle on historic masonry. Very hard mortars like Type S or M can be too stiff for many chimneys and can cause brick faces to crack during freeze-thaw movement. Matching color and texture is also part of a quality job. Elite Chimney selects a mortar that suits your brick and local weather so the repair looks right and holds up through winter.
Why Timely Tuckpointing Saves Money
Delaying tuckpointing can turn a small repair into a large rebuild. Water that enters soft joints can damage the crown, liner, and smoke chamber. It can rust dampers and drip into fireboxes. The top few feet of a chimney fail first because they face the worst weather. Early tuckpointing in that zone often prevents a full chimney rebuild later. If you are already seeing leaks or deep cracks, a rebuild may be more cost effective than piecemeal patches. A certified sweep can guide you after a full inspection.
DIY or Pro: When to Call Elite Chimney
Good DIY Candidates
Some small jobs are manageable for handy homeowners. If the damage is minor, the area is easy to reach from the ground, and you are comfortable with masonry, you can consider simple touch-ups. Always remove weak mortar to the proper depth and use a mortar that suits your bricks. Protect the area from direct sun and wind while it cures.
Jobs for Certified Chimney Sweeps
Call a pro when the chimney is tall, the house is more than one story, joints are failing on more than one side, the crown is cracked, or bricks are loose. Also call if you have signs of leaks inside the home, if the flue liner shows damage, or if you need color-matched mortar on a visible facade. Elite Chimney is a Certified Chimney Sweep, and our team handles tuckpointing chimney brick, chimney rebuilding, and full safety inspections.
Safety and Warranty Considerations
Professional work reduces fall risks, assures the right mortar chemistry, and often extends the life of the system. Many homeowners insurance policies and real estate transactions prefer or require documentation from certified sweeps. Elite Chimney provides written reports and stands behind our work.
A Professional Tuckpointing Process, Step by Step
- Inspection. We evaluate the structure, mortar condition, crown, cap, and flashing. We document any liner or smoke chamber issues that may affect safety.
- Protection. We set up ladders and safety gear, cover nearby roofing and landscaping, and secure the work area.
- Mortar removal. We grind or chisel out weak joints to a consistent depth, often three times the joint width, to reach strong material.
- Cleaning. We brush and rinse joints to remove dust so the new mix bonds well. On hot days we pre-dampen the joints for better curing.
- Mix selection. We choose or blend a mortar that matches your brick in strength and color. This helps performance and keeps curb appeal.
- Packing and tooling. We fill joints in lifts and tool them to a compact, weather-resistant profile that sheds water.
- Curing. We protect the new work from fast drying with light misting or covers as needed. Proper cure improves durability.
- Seal and protect. If appropriate, we apply a breathable masonry water repellent. We also address crowns, caps, dampers, and flashing.
- Final check. We review the work with you and share maintenance tips.
Frequently Asked Questions
How often should I test my chimney mortar?
Check once a year before winter. If your chimney faces strong wind or sun, or if you have had leaks before, test twice a year in spring and fall. Schedule a professional inspection every year if you use your fireplace often.
Is tuckpointing chimney brick enough to stop leaks?
It often is, but not always. Leaks can come from a cracked crown, failed flashing, missing cap, or damaged liner. Elite Chimney inspects the whole system to locate the true source before recommending repairs.
Can I do the screwdriver test on painted or sealed brick?
You can, but coatings can mask weak joints. If the screwdriver slides on a hard coating, try a hidden spot where the mortar is exposed. If in doubt, have a certified sweep check it.
How long does tuckpointing last?
With the right mortar, proper depth, and solid curing, joints can last 20 years or more. Weather exposure and chimney design affect lifespan. A cap, good crown, and water repellent help extend it.
Will cold weather stop the work?
Mortar needs mild temperatures to cure. Fall is ideal. In colder months, pros can sometimes use cold-weather methods, but scheduling early avoids delays and ensures better results.
Plan Ahead: The Best Timing for Repairs
Late summer through mid fall is the sweet spot for inspections and tuckpointing. Temperatures are moderate, mortar cures well, and you can enter winter with a weather-tight chimney. If you need more than tuckpointing, such as a crown rebuild, a new chimney cap, or a liner, starting early gives you time to finish before the first freeze.
Even if winter arrives, do not ignore soft mortar. A quick inspection can help you decide on temporary protection and plan a spring repair schedule. Elite Chimney can prioritize urgent safety issues and coordinate a full restoration when conditions improve.
Beyond Mortar: Other Upgrades That Protect Your Chimney
Tuckpointing chimney brick is a key step, but other components matter too. A complete repair plan reduces the chance of future leaks and improves performance.
- Chimney caps and dampers. A cap keeps out rain, snow, animals, and debris. A top-sealing damper improves draft and reduces heat loss.
- Crowns. A solid, properly sloped crown sheds water away from brick faces. If yours is cracked or thin, consider a rebuild with a durable mix.
- Flashing. Proper flashing where the chimney meets the roof stops water entry at a vulnerable seam.
- Liners. A correctly sized liner improves draft and safety, especially with gas appliances.
- Water repellents. Breathable sealers help keep moisture out while letting vapor escape.
Elite Chimney: Local, Certified, and Ready to Help
Elite Chimney LLC is a professional chimney cleaning and repair company based in Kenosha, Wisconsin. We serve Southeastern Wisconsin and Northeastern Illinois with expert service at competitive prices. Our Certified Chimney Sweep team follows high industry standards so your home stays safe and warm.
We offer complete solutions that go beyond tuckpointing chimney brick. Our services include chimney cleaning and inspection, chimney liners, chimney leak repairs, chimney caps and dampers, chimney rebuilding, gas fireplaces and gas log sets, and fireplace refacing. If your home is in Kenosha County, Racine County, or Lake County in Illinois, we are your local resource for quality chimney care.
Service areas include Kenosha, Pleasant Prairie, Bristol, Salem, Racine, Mount Pleasant, Waterford, Zion, Waukegan, Gurnee, Lake Forest, Highland Park, Libertyville, and nearby communities. If you do not see your city listed, contact us and we will confirm availability.
How Elite Chimney Handles Your Inspection
When you schedule with Elite Chimney, we begin with a thorough inspection that includes the exterior stack, crown, cap, flashing, and visible sections of the flue. We perform the screwdriver test and other checks to measure mortar health. We also assess interior components like the smoke chamber and damper, and we document our findings with photos.
From there, we recommend options. Sometimes a limited tuckpointing job on the upper courses is enough. Other times we suggest a full repoint, a crown rebuild, or a repair of flashing and caps. If we see evidence of liner wear, we discuss options that improve both safety and efficiency. You get a clear plan, a fair price estimate, and a timeline that fits your schedule.
Simple Maintenance Tips After Tuckpointing
After repairs, you can keep your chimney in top shape with a few easy habits.
- Install and maintain a good chimney cap to block water and animals.
- Have the chimney cleaned and inspected yearly if you burn wood. Gas appliances also need periodic checks.
- Watch for early signs of mortar stress and test problem areas each fall.
- Burn seasoned wood to reduce creosote and moisture.
- Keep gutters and roof lines clear so water drains away from the chimney.
Get Started Today
If your screwdriver sinks into the joints or your chimney shows cracks or leaks, do not wait for the first hard freeze. Early action prevents bigger problems. Elite Chimney is ready to help with skilled tuckpointing, chimney leak repairs, rebuilding, and more. We serve homeowners across Kenosha County, Racine County, and Lake County.
Contact Elite Chimney today. Address: 2100 82nd Street, Kenosha, WI 53143. Phone: 262-358-4010. Email: contact@elite-chimney.com. Website: https://elite-chimney.com
Your home deserves a chimney that is safe, efficient, and ready for winter. Start with the screwdriver test, then let Elite Chimney handle the details so you can enjoy the season with confidence.