
Start Here: What This Guide Covers
Fireplace insert installation made simple: clearances, liners, and NFPA basics for safe, code-compliant upgrades. Get expert tips and start your project today.
If you want more heat, better efficiency, and less smoke from your fireplace, a fireplace insert may be the perfect upgrade. The key to a successful project is planning. In this guide, you will learn how to choose the right insert, meet clearance requirements, pick the proper liner, and follow the NFPA basics that keep your home safe and code compliant.
Elite Chimney in Kenosha, Wisconsin installs and services wood, gas, and pellet inserts across Southeastern Wisconsin and Northeastern Illinois. Our Certified Chimney Sweeps follow industry standards, manufacturer listings, and local codes to help you get the most from your system.
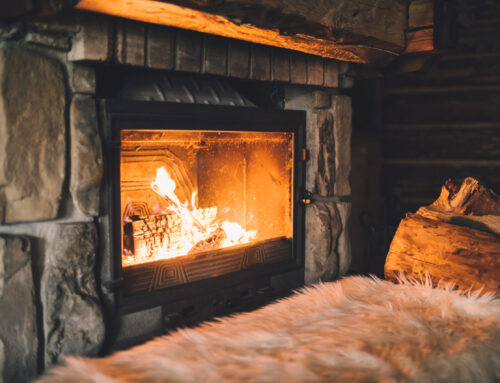
What Is a Fireplace Insert and Why Install One?
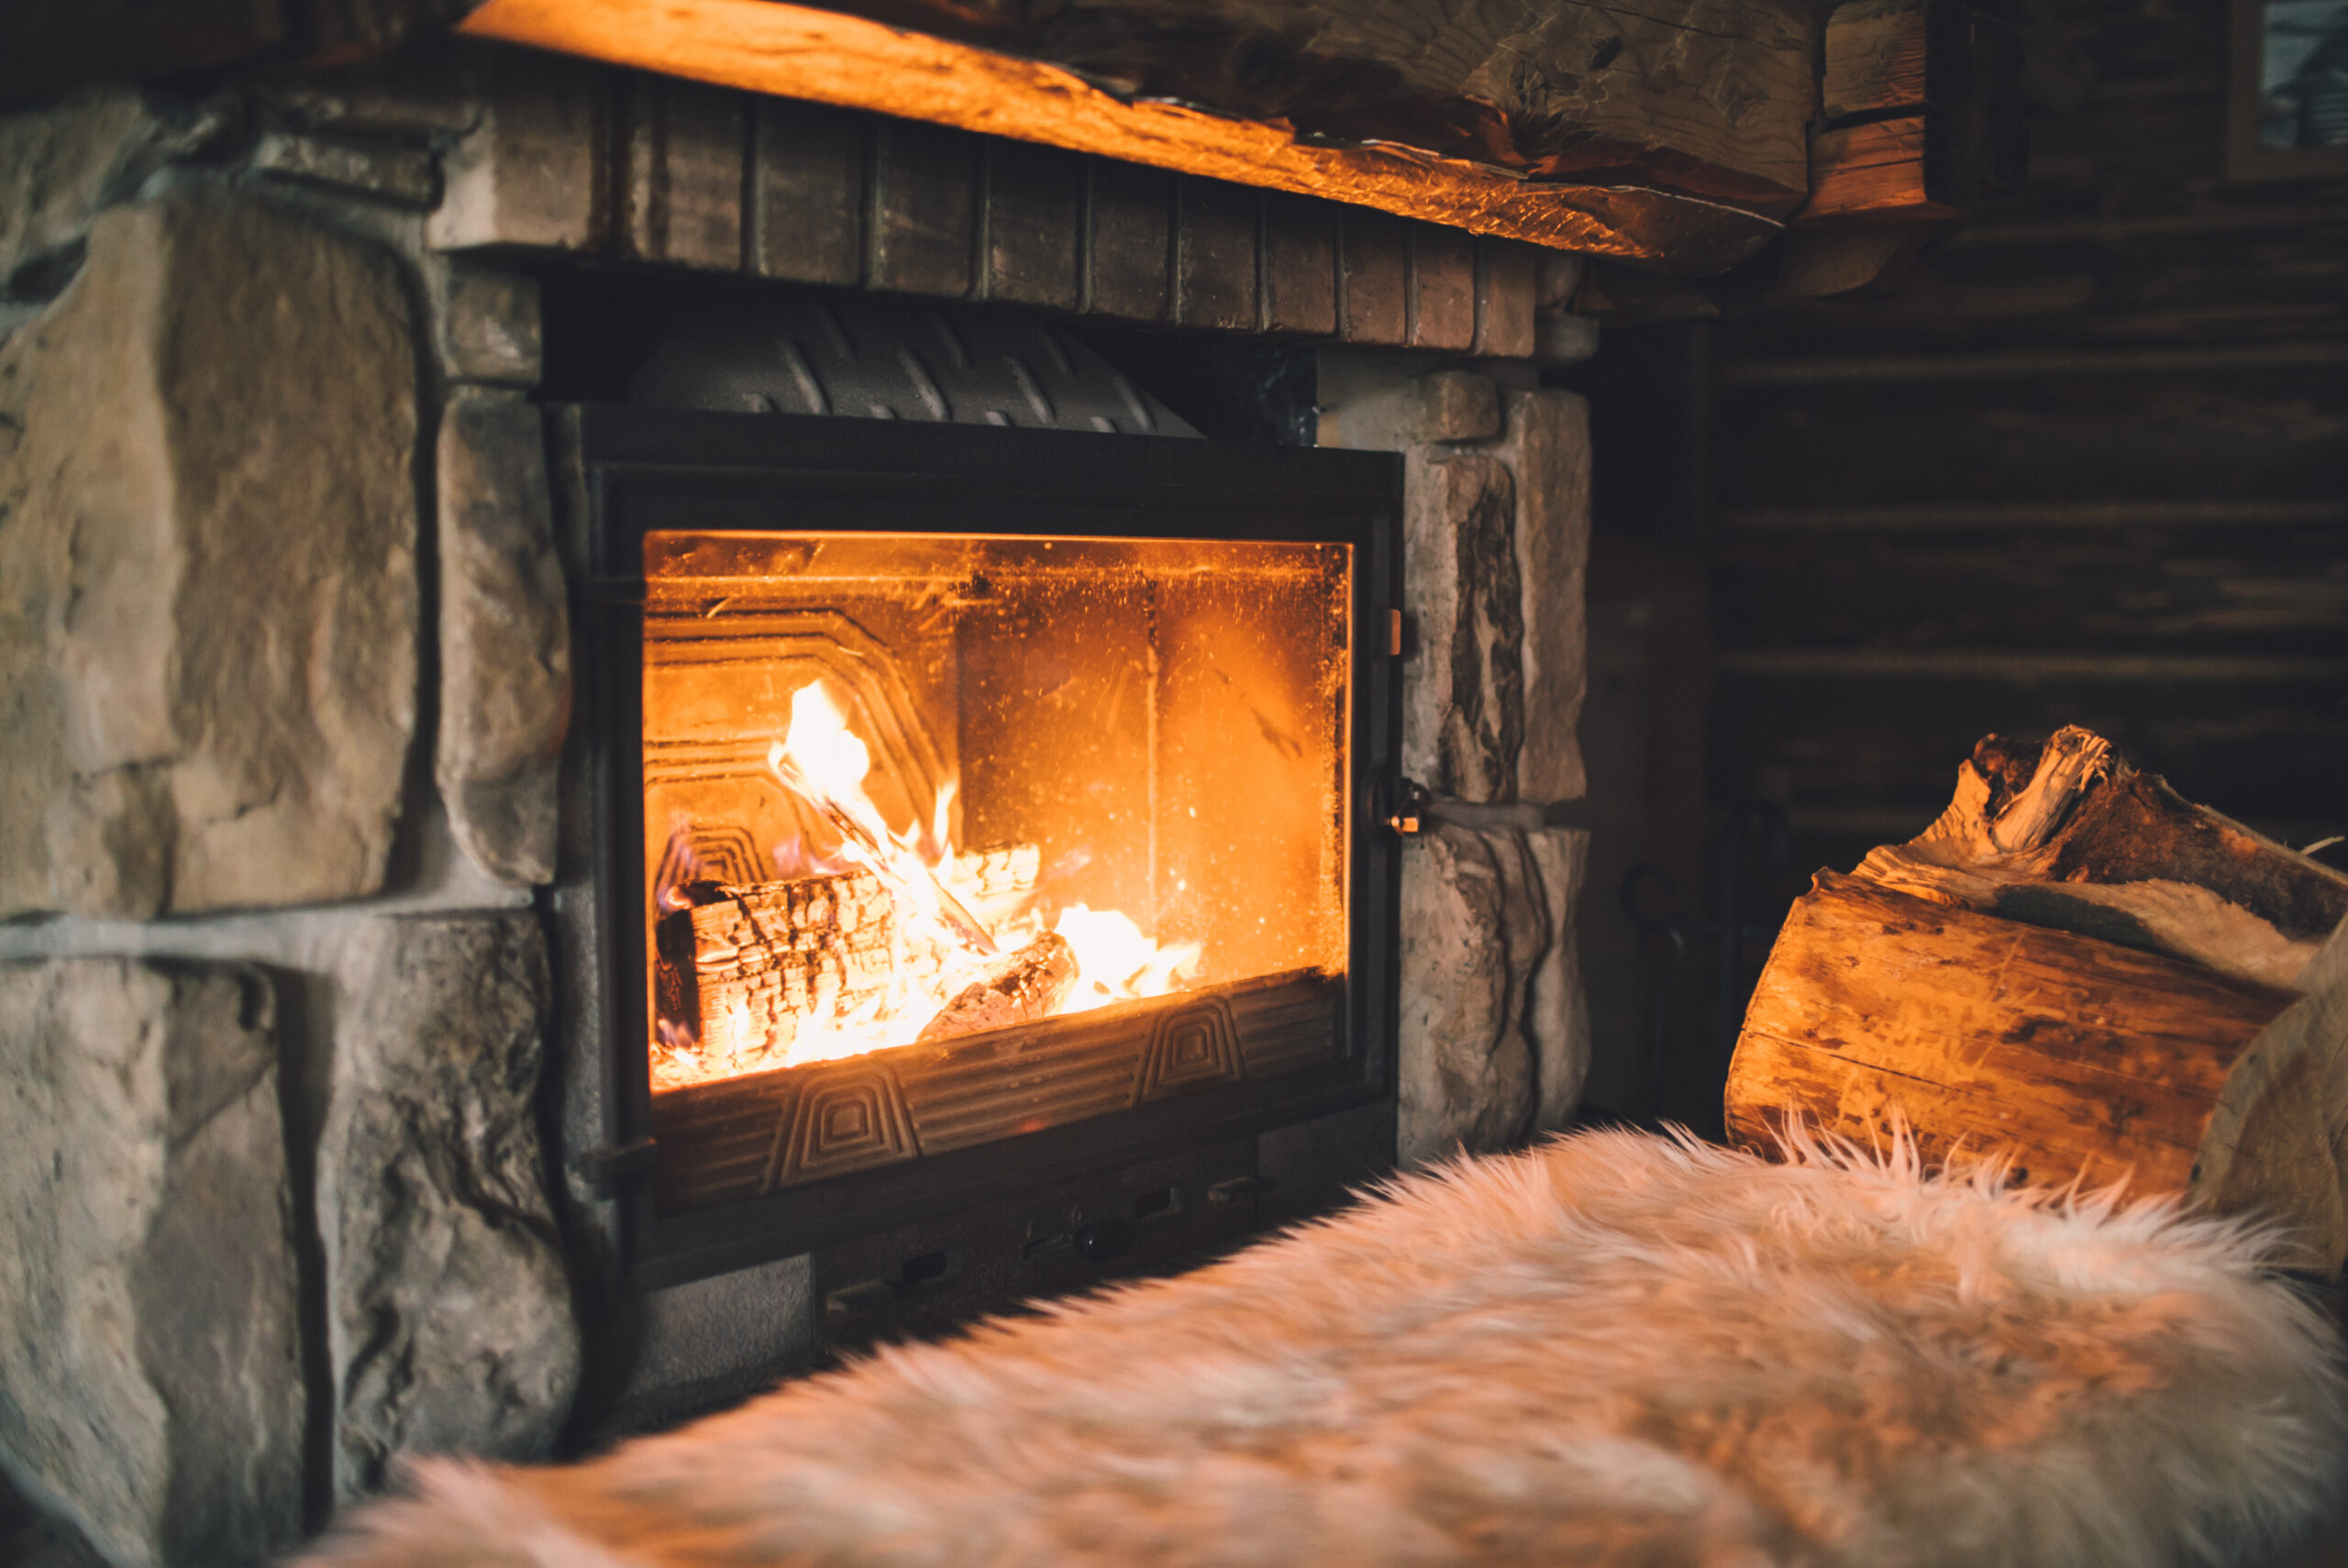
A fireplace insert is a steel or cast iron heating appliance designed to fit inside an existing fireplace. It can be wood burning, gas, pellet, or electric. Most inserts include a sealed glass door and a dedicated vent path. Compared to an open masonry fireplace, an insert can turn wasted heat into steady, controlled warmth.
Top Benefits
- Higher efficiency and longer burn times
- Cleaner indoor air from sealed operation
- Improved draft and reduced creosote with the right liner
- Modern styling without a full rebuild
- Potential fuel savings over time
Fireplace Insert Installation Basics: Step-by-Step
Every home is different, but most safe installations follow these steps. Elite Chimney recommends a Level II inspection before any insert installation to document the flue system, check clearances, and uncover hidden defects.
- Consultation and sizing. Confirm the type of insert, heat output, and fuel that fits your fireplace dimensions and the room’s needs.
- Inspection and cleaning. A Level II video inspection and a full chimney cleaning help ensure a clean, intact flue and firebox for safe operation.
- Measure for the liner. Choose a liner that matches the insert’s flue collar diameter and plan the route to the top of the chimney.
- Prepare the fireplace. Remove grates, damper parts as needed, and install a metal block-off plate at the smoke chamber when applicable to reduce heat loss.
- Install the liner. Run a listed stainless steel liner from the top to the insert, adding insulation if required by code, manufacturer, or site conditions.
- Connect and seal. Attach the liner to the insert, install a top plate and chimney cap, and seal all joints per manufacturer instructions.
- Set clearances and shielding. Verify mantel, surround, hearth extension, and trim clearances. Add listed heat shields if allowed and necessary.
- Test and commission. Check draft, perform smoke and CO testing for gas, and confirm operation. Review the owner’s manual with the homeowner.
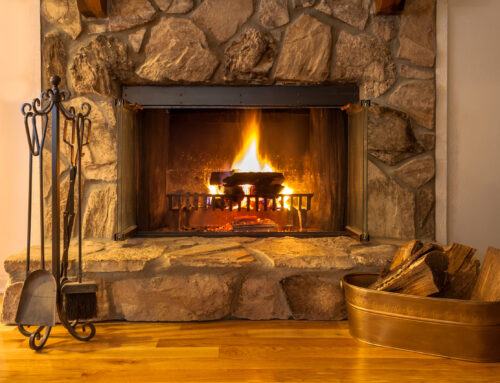
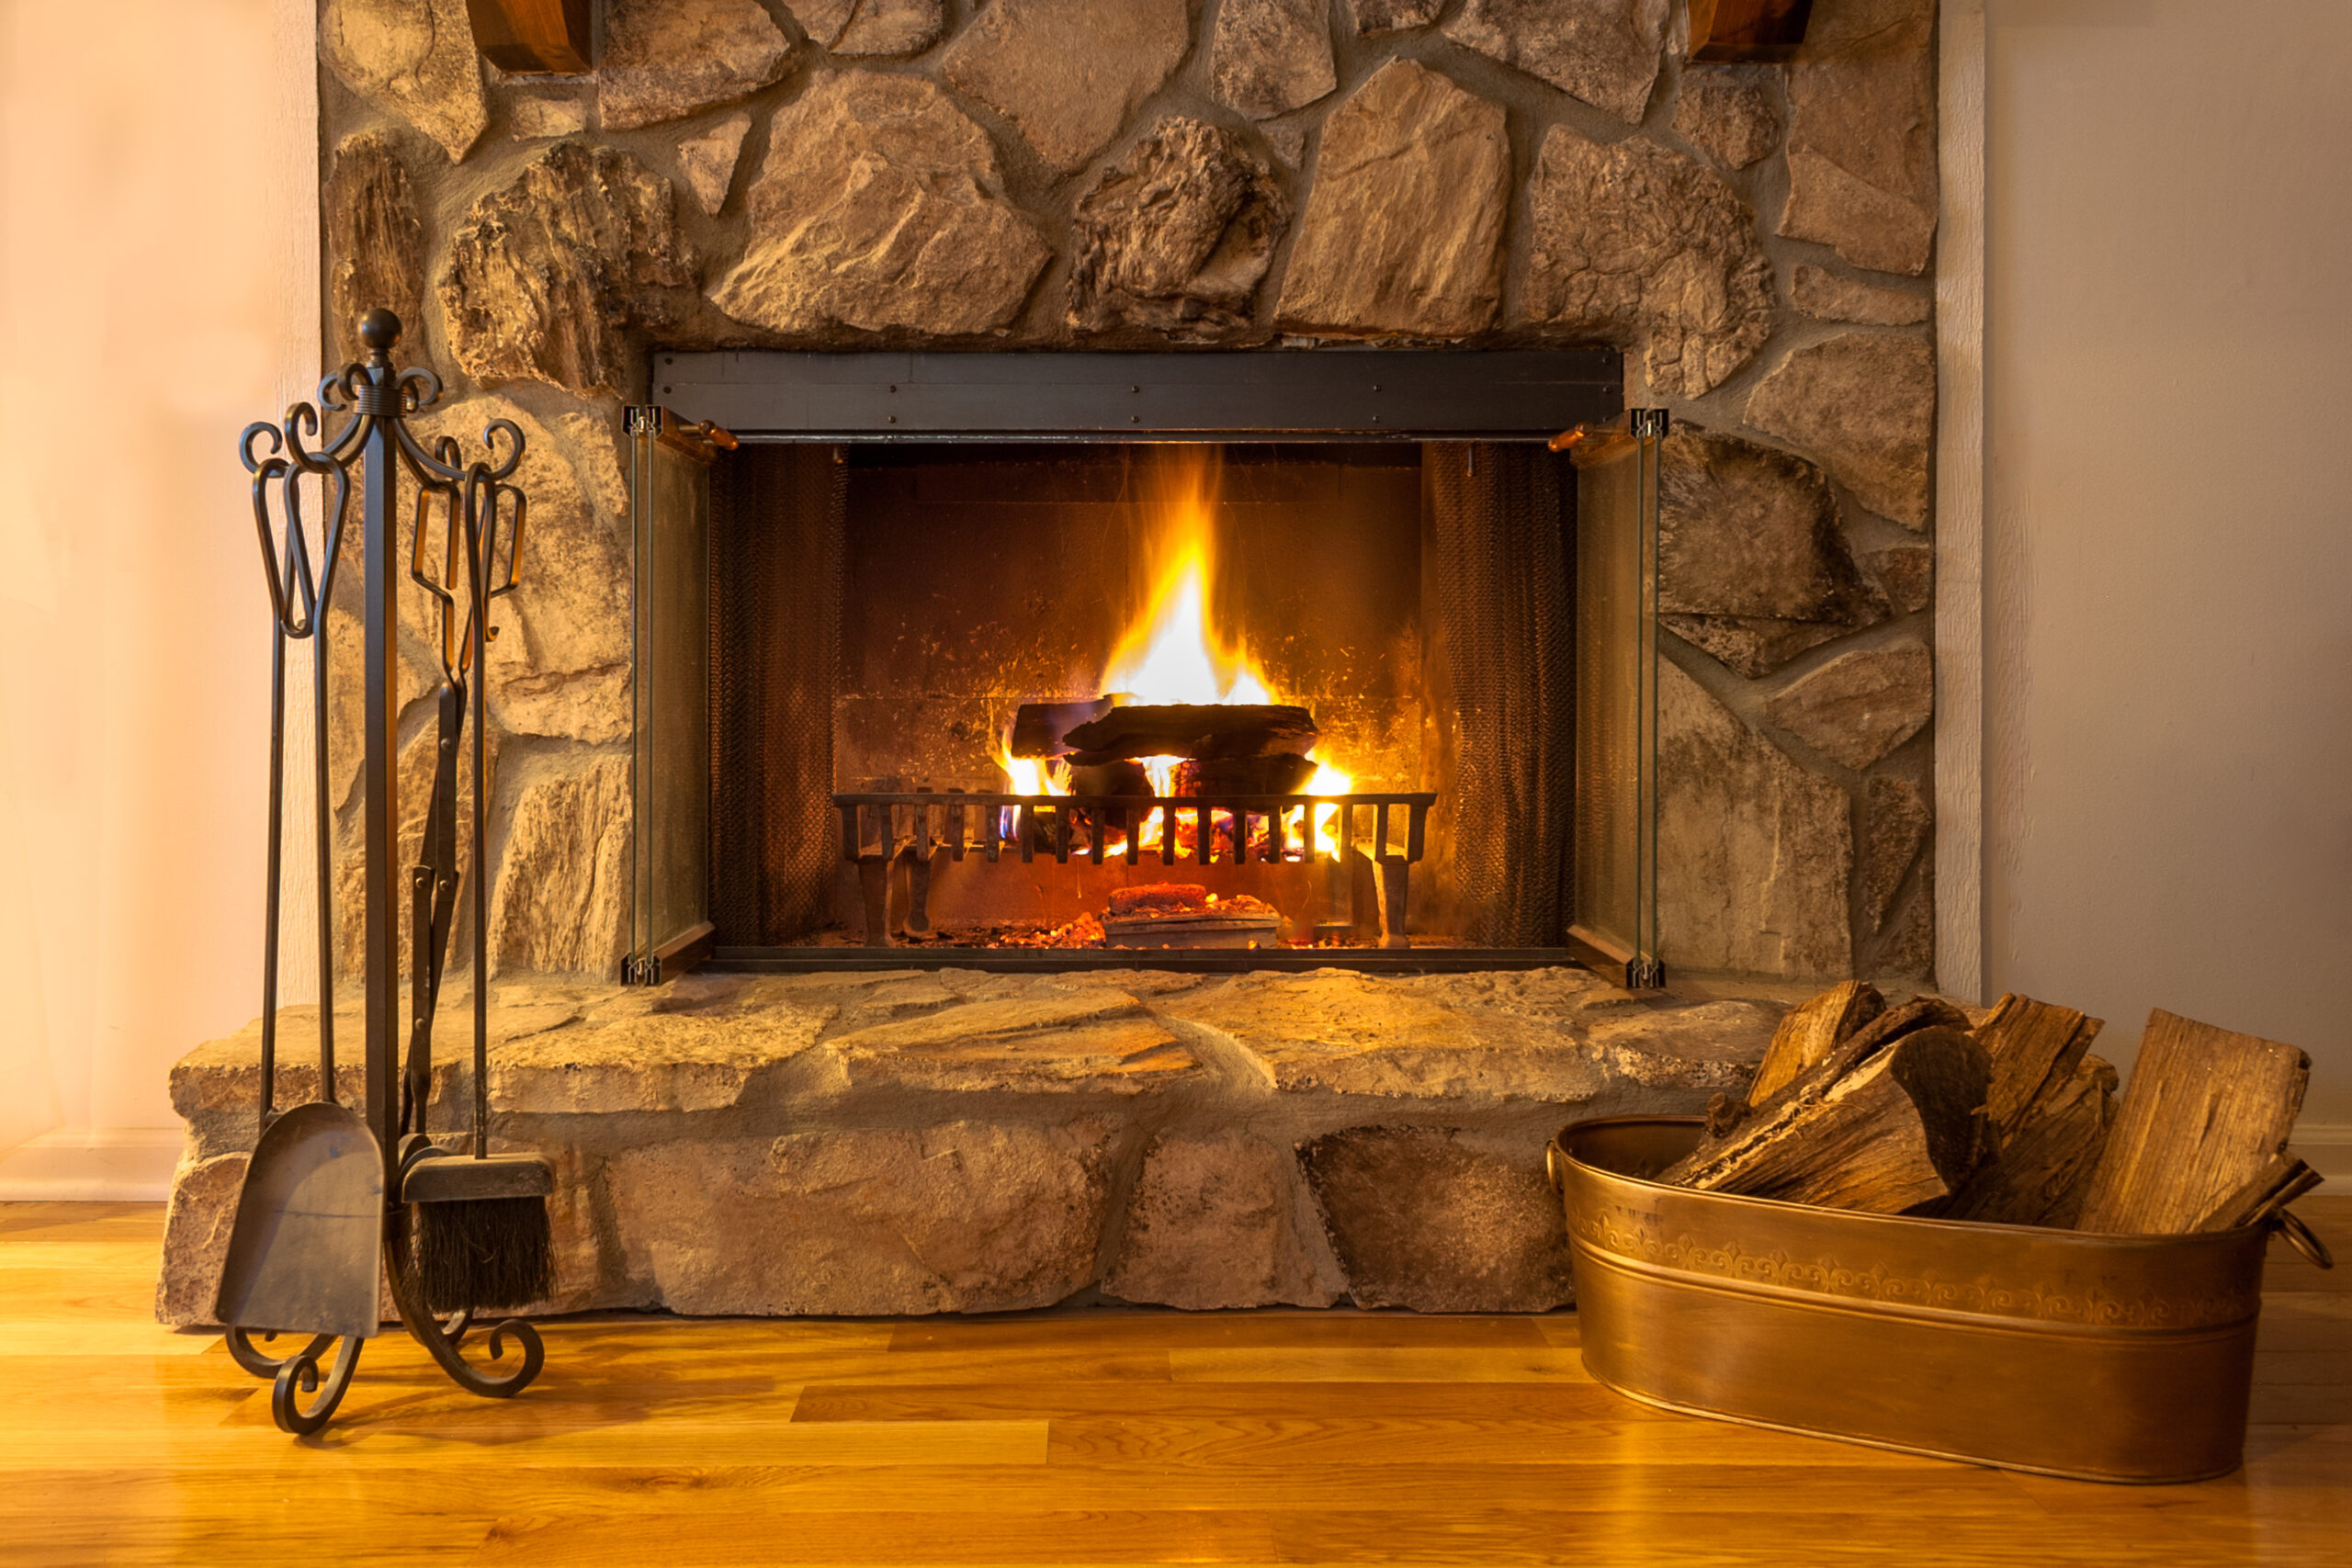
Clearances 101: Keep Combustibles Safe
Proper clearances are essential. Clearances are the minimum safe distances between the insert, vent system, and any combustible materials like wood framing, trim, mantels, and floors. Always follow the listing in your insert’s manual first. When a listing is silent, refer to NFPA 211 and local codes.
Common Clearance Checks
- Mantel and trim. Manufacturers specify how far a combustible mantel and trim must be from the insert opening or surround. Many listings allow combustible mantels when set a specific distance above the opening and often tied to the mantel’s projection. Never assume an old mantel meets new requirements.
- Hearth extension. You need a noncombustible hearth or extension in front of and to the sides of the insert door opening. Requirements vary by listing, but a common baseline is at least 16 inches in front and 8 inches to each side. Larger fireplace openings may require 20 inches by 12 inches. Use materials and R-value specified by the manufacturer.
- Surround and facing. Decorative surrounds must be noncombustible or set back at the distance in the listing. Tile or stone may need proper backing and spacing to prevent heat transfer to wood studs.
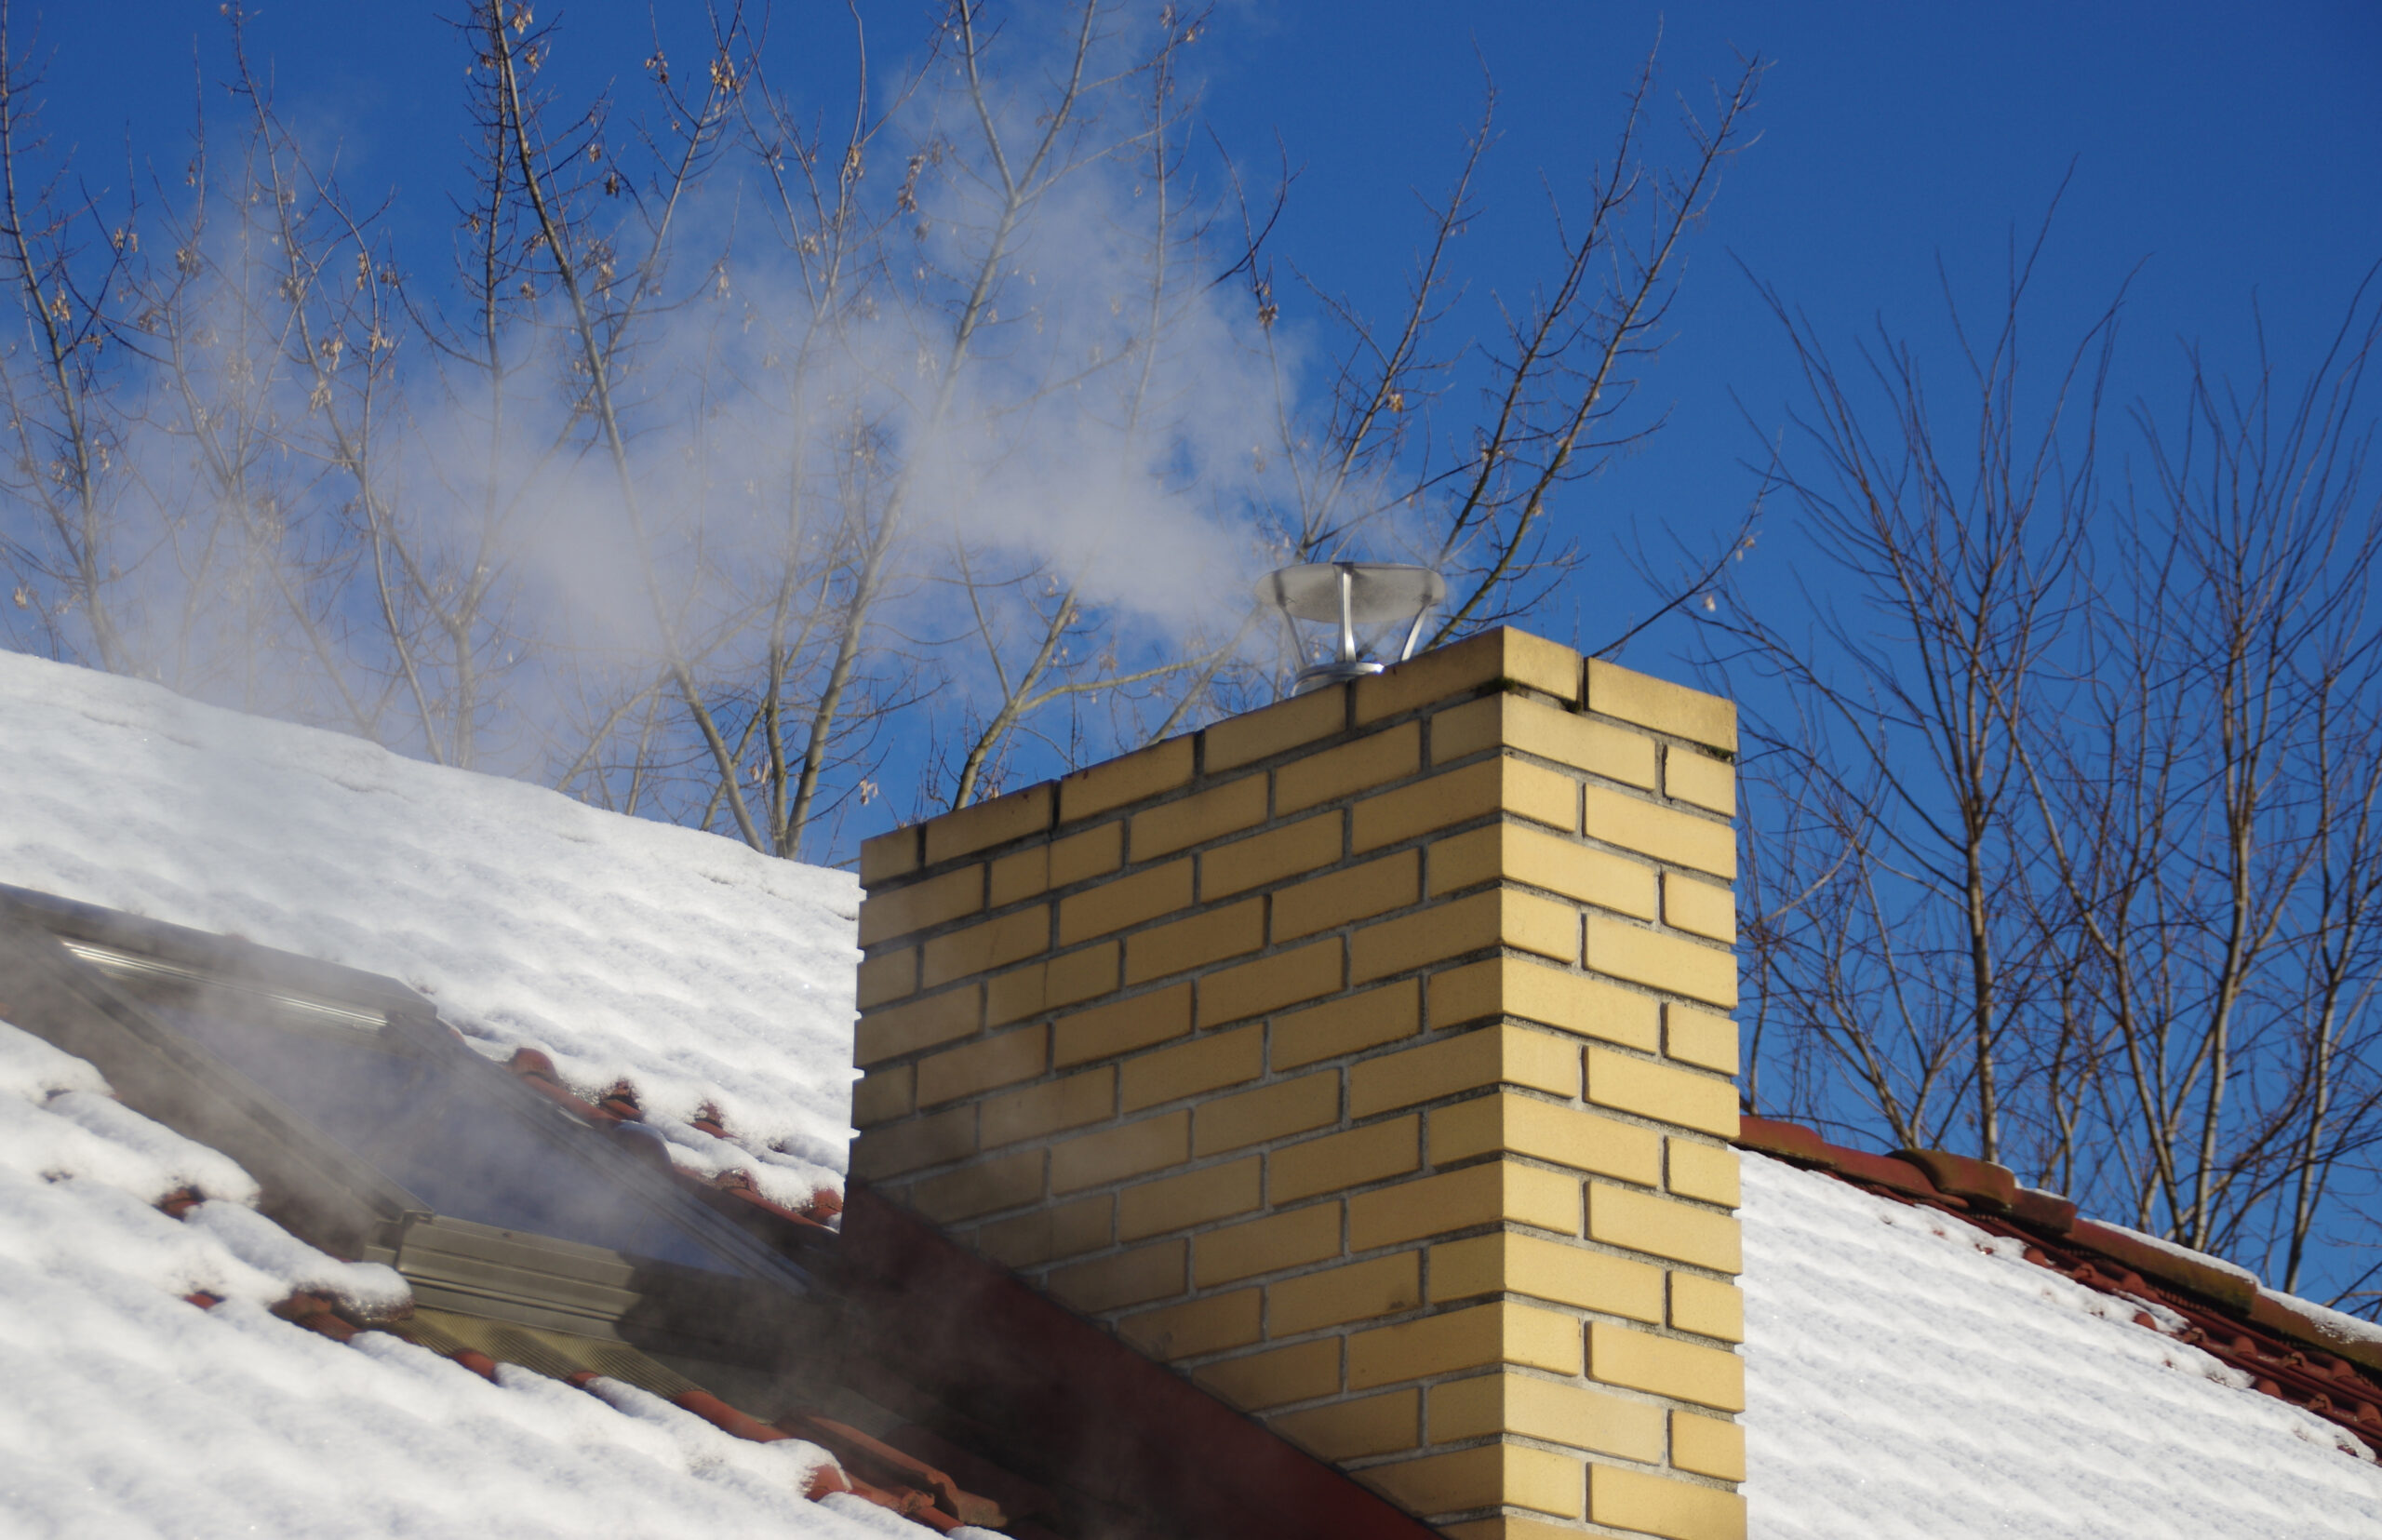
- Chimney and chase. Masonry chimneys require an airspace clearance to combustibles. Factory-built chimneys have their own listed clearances. Do not fill required airspaces with insulation or debris.
- Insert cavity. The insert must fit the firebox with room for airflow as specified by the manufacturer. Do not wedge or pack insulation against the appliance unless the manual allows it.
Elite Chimney checks all clearances as part of our installation process in Kenosha, Racine, Zion, Waukegan, and the surrounding communities. If adjustments are needed, we propose solutions that stay within the appliance’s listing.
Chimney Liners: The Heart of Safe Venting
For most wood and pellet inserts installed in masonry fireplaces, a full-length stainless steel liner sized to the insert’s flue collar is the best practice and is often required by the manufacturer and by NFPA guidance. Gas inserts typically use a co-linear or co-axial liner system designed for the specific model.
Why Full Relining Beats Partial Connections
- Better draft. The liner matches the appliance, stabilizing draft and reducing smoke rollout.
- Cleaner operation. It minimizes creosote condensation and keeps flue gases contained.
- Code alignment. Many listings and jurisdictions require a continuous, listed liner to the top.
- Easier maintenance. Smooth, continuous walls make sweeping more effective.
Choosing Liner Materials
- 316 or 316Ti stainless steel. Recommended for wood, pellet, and oil due to corrosion resistance.
- 304 stainless steel. Sometimes used for wood only in milder conditions, but 316 is more robust.
- Aluminum. Used in some gas-only relines when listed for the appliance. Not for wood.
- Co-linear kits for gas inserts. Two flexible liners, one for intake air and one for exhaust, terminate at a special cap.
Insulated vs Uninsulated Liners
Insulated liners improve draft, reduce creosote, and help maintain safe temperatures. Many installations require insulation in cold climates, when the chimney is on an exterior wall, or when combustible clearance to the masonry cannot be met. Options include wrap insulation, pre-insulated liners, or poured insulation around a rigid liner. Elite Chimney can recommend the right option for Kenosha and Lake County weather conditions.
Key Parts of a Liner System
- Appliance connector and adapter
- Full-length liner and insulation
- Damper-area block-off plate for masonry fireplaces
- Top plate, storm collar if applicable, and listed chimney cap
- Co-linear cap for gas inserts
NFPA 211 Basics Homeowners Should Know
NFPA 211 is a standard that guides safe construction, installation, and maintenance of chimneys, fireplaces, and vented appliances. While your specific insert’s listing rules come first, these NFPA concepts are helpful.
- Clearances to combustibles. Maintain the listed airspace around chimneys, fireplace structures, and vent systems. Do not fill these spaces with insulation unless the standard allows it.
- Proper flue sizing. The vent should closely match the appliance outlet size and type. Oversized flues cool gases and create creosote. Undersized flues restrict draft.
- Hearth protection. Use proper noncombustible materials and dimensions per listing or NFPA guidance for traditional fireplaces.
- Inspections. NFPA 211 outlines Level I, II, and III inspections. A Level II inspection is recommended when there is any change to the system, such as installing a new insert.
- Listed systems. Follow the appliance manual and the liner’s listing. UL 1777 is a common listing for chimney liners. Many wood inserts are listed to UL 1482. Factory-built chimneys may be listed to UL 103 HT.
Elite Chimney’s Certified Chimney Sweeps use NFPA 211 as a baseline along with the manufacturer’s instructions and your local code. That layered approach results in safe, code-compliant work.
Wood vs Gas vs Pellet vs Electric Inserts
Wood-Burning Inserts
These deliver classic flames with high efficiency. They require a full-length stainless liner and a well-sized hearth extension. Your wood storage, moisture content, and sweeping schedule all affect performance. Elite Chimney installs and services wood inserts across Kenosha, Racine, and Lake County with an emphasis on draft and liner insulation for cold winters.
Gas Inserts
Gas inserts provide instant heat and low maintenance. Most use direct-vent technology with a co-linear liner system. Combustion air comes from outside and exhaust goes back outside through the second liner. Annual safety checks and CO monitoring are recommended. Our team installs and maintains gas fireplaces and gas log sets per listing and local fuel codes.
Pellet Inserts
Pellet models burn compressed pellets with an electric feed. They vent through a listed liner and require electricity. They offer consistent output and easy fueling, but you must follow maintenance schedules for ash and vent cleaning.
Electric Inserts
Electric units are simple to install and do not require a chimney liner, but they do not produce the same heat as combustion inserts. They are ideal for ambiance and supplemental heat where venting is not possible.
Prefab Fireplaces vs Masonry: Special Considerations
Not every insert can go into every fireplace. Many solid fuel inserts are approved for masonry fireplaces and only some are tested and listed for specific factory-built fireplaces. If you have a zero-clearance prefab fireplace, you must choose an insert that is explicitly listed for use in that exact model and follow the manufacturer’s instructions for surround panels, air circulation, and venting. Elite Chimney will verify compatibility before any purchase.
Cost, Timeline, and What to Expect
Costs vary based on fuel type, chimney height, liner materials, insulation, and any repairs needed. Wood and pellet inserts with full stainless relines tend to cost more than gas or electric units due to chimney work. Most projects take one to two days after parts arrive. If we discover issues like damaged flue tiles, missing clearances, or a leaking crown, we will provide a quote for repairs. Elite Chimney keeps overhead low to offer competitive pricing without cutting corners on safety.
Common Mistakes to Avoid
- Using the existing oversized flue without a full reline for a wood insert
- Ignoring mantel and trim clearances because the original fireplace looked fine
- Skipping insulation on a cold, exterior chimney where draft suffers
- Installing an insert in a prefab box without a listing for that exact combination
- Not performing a Level II inspection before installation
- Leaving the damper area open without a proper block-off plate
- Neglecting annual service, sweeping, or CO testing
Maintenance and Safety After Installation
Once your insert is installed, keep it running safely with a simple routine.
- Annual inspection and sweep. Even gas models benefit from a yearly check to keep vents clear and seals tight.
- Burn seasoned wood only. For wood inserts, use dry hardwood with under 20 percent moisture to reduce creosote.
- Check gaskets and glass. Replace worn door gaskets and clean glass per the manual to maintain efficiency.
- Vacuum ash safely. For wood and pellet units, use a metal ash bucket and handle ash after it cools completely.
- Test detectors. Keep smoke and carbon monoxide detectors in working order on every level of your home.
How Elite Chimney Helps You Get It Right
Elite Chimney LLC is based in Kenosha and serves Southeastern Wisconsin and Northeastern Illinois. Our Certified Chimney Sweeps handle everything from chimney cleaning and inspections to liners, leak repair, caps and dampers, rebuilding, gas fireplaces, and fireplace refacing. We combine expert workmanship with fair pricing by avoiding unnecessary overhead and focusing on quality.
Our Fireplace Insert Installation Process
- Clear, upfront estimate and product guidance
- Level II camera inspection and chimney cleaning
- Compliance review against NFPA 211, UL listings, and local code
- Full stainless reline sized to the appliance whenever required
- Insulation strategy tailored to your chimney and climate
- Precise trim, surround, and hearth clearance verification
- Final function tests and homeowner education
Service Areas
Wisconsin
- Kenosha County: Kenosha, Pleasant Prairie, Bristol, Salem, and nearby areas
- Racine County: Racine, Mount Pleasant, Waterford, and more
Illinois
- Lake County: Zion, Waukegan, Gurnee, Lake Forest, Highland Park, Libertyville, and surrounding cities
Frequently Asked Questions
Do I really need a full stainless liner for a wood insert?
In most cases yes. A full-length listed liner sized to the insert’s collar is the safest, best-drafting solution and is often required by the manufacturer. It also aligns with NFPA 211 guidance. Direct connections to a large masonry flue are usually not allowed or not recommended.
Can an insert go into my factory-built fireplace?
Only if the insert is specifically listed for your prefab model and the installation follows the manufacturer’s rules. Many wood inserts are only for masonry fireplaces. Always verify before buying.
How big should the hearth be?
Follow the insert’s manual. If it does not specify, many traditional fireplaces follow a baseline of at least 16 inches in front and 8 inches to each side of the opening, or 20 inches by 12 inches for larger openings. Your insert may require a specific R-value or hearth pad.
How often should I schedule maintenance?
Have your system inspected annually. Wood and pellet inserts often need a sweep every year depending on use. Gas inserts should get a safety check and cleaning of the pilot and logs as recommended by the manufacturer.
Will an insert reduce smoke odors?
Yes, a properly installed insert with a matched liner and good draft can reduce smoke spillage and odors compared to an open fireplace. It also helps keep creosote under control.
Get Expert Help From Elite Chimney
Ready to enjoy more heat and peace of mind from your fireplace insert installation? Elite Chimney makes it simple. We are a Certified Chimney Sweep company with deep experience in clearances, liners, and NFPA-driven best practices. From Kenosha and Racine to Zion, Waukegan, and the Lake County suburbs, we deliver code-compliant results at competitive prices.
Contact Elite Chimney to schedule your inspection or request a quote today.
- Address: 2100 82nd Street, Kenosha, WI 53143
- Phone: 262-358-4010
- Email: contact@elite-chimney.com
- Website: https://elite-chimney.com
Final Checklist for a Safe Fireplace Insert Installation
- Choose a listed insert that matches your fireplace type
- Schedule a Level II chimney inspection and cleaning
- Verify mantel, trim, and hearth clearances
- Install a full-length, listed liner sized to the appliance
- Insulate the liner when required or beneficial
- Seal the damper area with a proper block-off plate
- Use a listed termination cap and top plate
- Follow NFPA 211, the appliance manual, and local codes
- Plan annual maintenance with a Certified Chimney Sweep
With the right planning and a trusted partner like Elite Chimney, your fireplace insert installation can deliver safe, efficient heat for years to come. Reach out today and let our team help you design a solution that fits your home, your budget, and your comfort goals.
